Aseprite Colour Stepper Shortcuts
Installation
Follow these steps to set up the Colour Stepper Scripts:
- Download the Scripts
- Download the ZIP archive containing the scripts, here.
- Create a Folder
- Create a folder (e.g.
aseprite_colour_steppers) inside your Aseprite’s to store the script scripts, usually found at C:\Users<username>\AppData\Roaming\Aseprite\scripts
- Create a folder (e.g.
- Unzip the Scripts
- Extract the contents of the ZIP file into the folder you created.
- You can safely remove the README.md file
- Extract the contents of the ZIP file into the folder you created.
- Move the Folder
- Copy the folder (
aseprite_colour_steppers) into your Aseprite scripts directory:C:\Users\<username>\AppData\Roaming\Aseprite\scripts
- Copy the folder (
- Rescan Scripts
- In Aseprite, go to
File > Scripts > Rescan Scripts Folderto load the new scripts.
- In Aseprite, go to
Assigning Keyboard Shortcuts

- Open the Keyboard Shortcuts editor:
- Go to
Edit > Keyboard Shortcuts.
- Go to
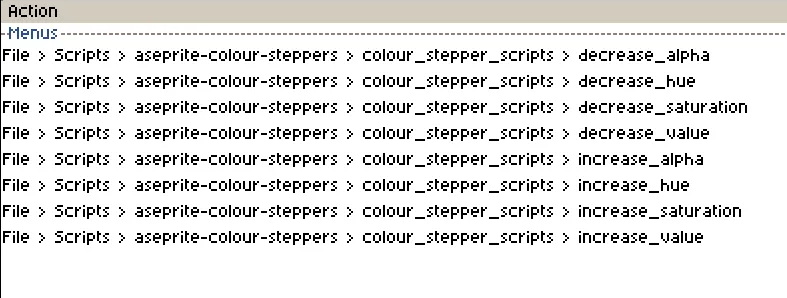
- Search for the scripts:
- Type
colour_stepper_scriptsor the specific script name in the search bar.
- Type
- Map shortcuts:
- Assign a key combination to each script (e.g., map
decrease_hueto CTRL + SHIFT + Q).
- Assign a key combination to each script (e.g., map
Configuration (Optional)
If you want to customize the step increments.
- Go to
File > Scripts > aseprite_colour_steppers > hsl_config_dialog. - Adjust the steps for hue, saturation, value and alpha (values range from 0 to 100).
- Ensure you have write access to allow the configuration file to be updated.
Usage
Use your newly assigned keyboard shortcuts in Aseprite 😀
Example Of My Key Bindings
Here’s a suggested setup for shortcuts:
- Increase Hue: CTRL + SHIFT + Q
- Decrease Hue: CTRL + SHIFT + A
- Increase Saturation: CTRL + SHIFT + W
- Decrease Saturation: CTRL + SHIFT + S
- Increase Value: CTRL + SHIFT + E
- Decrease Value: CTRL + SHIFT + D
- Increase Alpha: CTRL + SHIFT + R
- Decrease Alpha: CTRL + SHIFT + F